
When creating artwork with spray paint, layering your colours is key for creating a professional looking piece with blending, depth and texture. Blending your spray paint may seem daunting at first, but with the right techniques and practice, you will be able to create seamless pieces in no time.
Why Layering Matters
Depth and Complexity
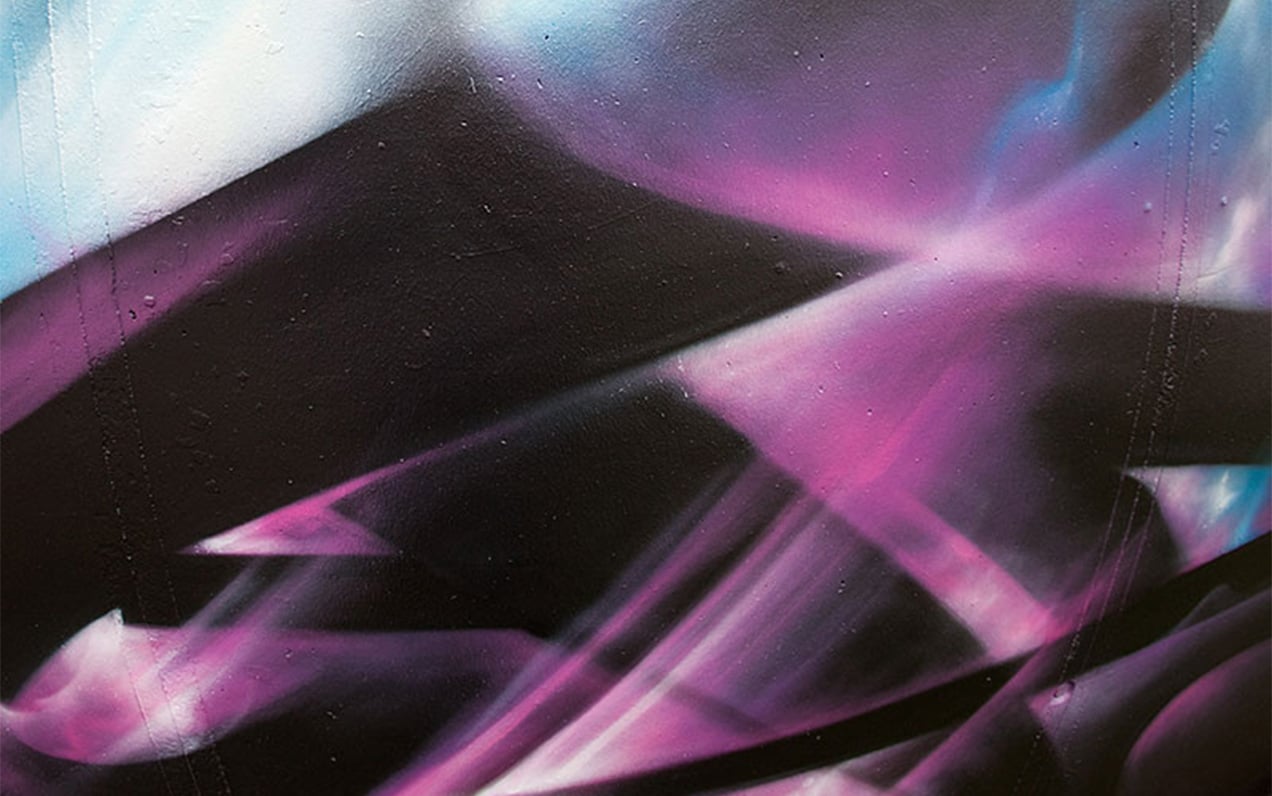
Layering spray paint allows you to create depth and complexity to a piece by blending colours, adding shadows and highlights, creating intricate details, and developing texture. With the right blending techniques, you can create a unique and visually interesting final artwork.
Vibrancy
By layering spray paint, you can achieve the full opacity of your chosen colours and really make your artwork stand out.
Durability
Thin layers adhere to your chosen surface better, and several paint layers can increase the durability of your artwork against weather by serving as a protective armour against the elements.
Smooth Application
Thin, even spray paint layers create a smoother finish as it prevents the paint from running, dripping or pooling during the final drying process. Steady layering also creates a less patchy final artwork compared to heavy handed, one-layered piece.
Base vs Detail Layers
When layering colours, your spray paint technique needs to change depending on the type of layer you are painting.
Base Layers
For the base layers of your artwork, the focus is achieving maximum colour coverage and vibrancy.
To create an opaque base, we recommend that you use a larger spray cap for wider, more even spray coverage. It’s also important to hold your spray can between 15-25cm away from the subject to allow the paint to evenly distribute onto the surface, applying 2-3 thin layers to achieve a smooth base. When spraying, keep your wrist locked and pressure on the nozzle even to form a steady spray.
Detail Layers
Detail layers are when your piece really begins to come alive by adding shapes, lines, highlights and shadows. When adding detail to your artwork, your layering technique needs to be adjusted in order to achieve clean lines and precision.
We recommend that you use a smaller spray cap for details to reduce the amount of paint output and give you more control. Apply a lighter amount of pressure when detailing your piece, and hold the can between 2-7cm to the subject. Keep your hand movements quick to prevent too much paint from being sprayed in one area as this will cause pooling. Stick to only doing 1-2 layers of detail, more layers could run and ruin your clean lines. If using stencils, blot with a tissue or paper before lifting to prevent running or smudges.
Blending Techniques
Best spray paint blending practice involves using a range of different techniques to create a vibrant and seamless final piece with no harsh lines.
Dry Blending
Level: Beginner
Technique: Dry blending involves layering thin coats of spray paint, gradually switching out your colours to create a seamless blend of colours.
Method: Always start with the lightest colours and gradually add in the darker colours. Spray from a distance of 8-12 inches away from the subject. Always keep the spray can moving in continuous, sweeping motions to prevent any pooling or dripping. Feather the edges by quickly flicking your spray can between each colour to help you achieve a softer blend. Repeat this process to create a seamless transition of colours.
Wet On Wet Blending
Level: Intermediate
Technique: Applying a second colour whilst the first colour is still wet to create a vibrant gradient.
Method: Start with the lightest colours. Spray from a distance of 8-12 inches away from the subject. Apply the next colour whilst the first colour is still wet in order to create a vivid gradient.
Important: Keep the timeframe in which you switch colours quick to prevent layers from drying in between.
Scumbling and Stippling
Level: Advanced
Technique: These are non traditional techniques that are used to add texture and optical illusions to your artwork.
Scumbling: Involves uneven layers being applied to allow the base layer to gently peak through. To achieve this, hold the spray can further away from the subject and spray with quick, sudden passes.
Stippling: Involves blending through dots of colour. Spray quick bursts of paint onto the subject to create a hazy blend from afar.
Atmospheric Perspective
Level: Advanced
Technique: Creates the illusion of three dimensional artwork by blending objects into the distance.
Method: Blend lighter colour hues into the background of your piece, whilst utilising warmer colour hues to portray objects which are closer.
Textures
Level: Advanced
Method: Use a mix of dry blending, scumbling and stippling to create a range of textures including rough surfaces, metallic finishes and fuzzy effects.
Ombre Gradient
Level: Advanced
Technique: Blending shades of colour to create a gradual contrast.
Method: Divide the surface into sections for each colour. Spray the lightest colour from one side into the middle, and the darkest colour from the opposite side going into the middle. Layer this middle section to create a seamless gradient.
Lighting and Shadows
Level: Advanced
Technique: Utilising a range of blending techniques and colour theory to create shadows and light
Method: To create realistic shadows, avoid using black in your piece as this can come across too harshly. Instead, use complementary darker colours to prevent a muddly look.
Avoiding Muddy Colours
Muddy colours occur when paints mix together and lose their vibrancy, resulting in dull colours that look flat.
Prepare Your Base
To create seamlessly blended, vivid colours we recommend that you begin your project with priming the surface to create a smooth base that the paint will stick to.
Thin Layers
Spray in thin layers with a good distance between your spray can and subject in order to avoid pooling. When spray paint pools, it can create muddy colours in your final piece.
Move from Light to Dark
Darker spray paints will bleed through light colours and create a muddly look. To avoid this, simply begin with your lightest colour and work your way up to the darkest colour.
Understand Complementary Colours
When applying complementary colours, make sure to wait for the paint to dry. If your previous layer is still wet, the similar pigments of the complementary colours will cancel each other out and create a muddy look.